English
 中文简体
中文简体 русский
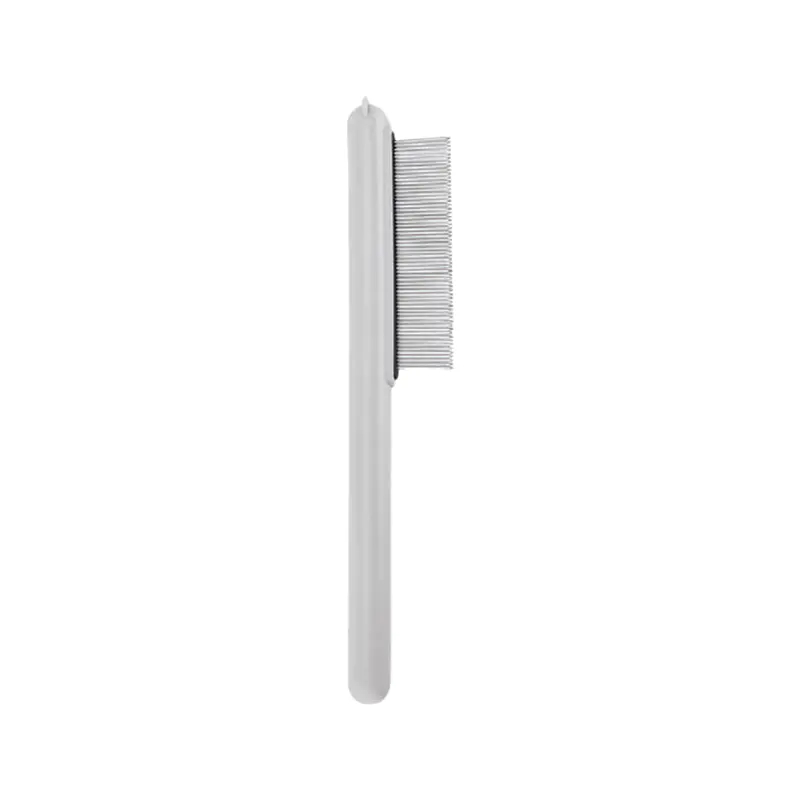
If you share your home with a long-haired dog or cat, chances are you have run your fingers through their coat at some point and felt that stubborn, immovable knot hiding underneath the surface fur. It stops your hand cold. The Opey Pet Brush was built with exactly that moment in mind, because the difference between a coat that stays healthy and one that silently deteriorates often comes down to one underestimated daily habit. So what is a pet brush, really? At its core, it is a grooming tool designed to lift loose fur, work through tangles, remove built-up dirt, and help distribute your pet's natural skin oils evenly across the coat. It is not decorative equipment. Used consistently and correctly, it is one of the most direct interventions available to any pet owner who wants to stay ahead of mat formation, rather than scrambling to deal with the aftermath.
What Is a Pet Brush, and Why Does the Type Matter?
Not all brushes do the same thing. Walk into any pet store and the variety alone can feel overwhelming. Slicker brushes, pin brushes, undercoat rakes, rubber curries, dematting combs. Each one was designed around a specific coat problem, and using the wrong one does not just mean the session is less effective. It can damage the coat or create a negative association in your pet that makes future grooming harder.
Here is how the main types break down:
| Tool Type | Primary Function | Coat It Works On |
|---|---|---|
| Slicker brush | Detangles surface knots, removes loose fur, smooths topcoat | Most coat types, especially medium to long |
| Pin brush | Gently separates long or silky strands without snagging | Long, flowing, or fine-textured coats |
| Undercoat rake | Pulls shed fur from beneath the outer coat | Double-coated breeds with dense underlayers |
| Dematting comb or rake | Works through compressed knots by splitting them | Moderate to dense mats that a comb cannot pass through |
| Rubber curry or grooming mitt | Controls shedding, stimulates skin, desensitizes young pets | Short to medium coats, also useful for introductory sessions |
One practical tip: start brushing your pet with a pin brush as early as possible in their life, even before mats are a concern. Getting them comfortable with the sensation of being combed around the face, near the eyes, and around the nose takes patience, but it makes every future session easier. Use a fine-toothed comb for these sensitive facial areas. Slow, deliberate movements around the muzzle and under the chin build tolerance that pays off when your pet is older and the coat is thicker.
What Exactly Is a Mat, and Why Is It More Than Just a Tangle?
The word "tangle" sounds manageable. A tangle is loose hairs that crossed and caught on each other. Pull them apart gently, run a comb through, done. A mat is something else entirely. It forms when tangles are left unbrushed long enough that live and dead fur begin to twist together, compress, and lock against the skin. Moisture gets trapped inside. Debris accumulates. The structure tightens over time, and what started as a minor inconvenience becomes something that genuinely hurts.
Understanding the stages matters:
- Tangle: New, loose, responds to a comb with light pressure
- Surface mat: Clumped but not yet tight against the skin; still workable at home
- Deep or felted mat: Dense, compacted, skin-level; often requires professional intervention or clipping
Mats are painful in ways that are not always obvious from the outside. The hair follicles beneath a mat are under constant tension, not unlike having someone pull your hair steadily for hours. Severely matted pets change the way they walk, shift their posture, and avoid being touched in certain areas. In extreme situations, tight mats restrict blood flow to underlying tissue. They also create warm, humid pockets that attract parasites and allow bacteria to thrive. None of this is visible until things have already gone wrong.
Common triggers include friction from collars and harnesses, moisture that does not dry fully, shed undercoat that was never combed out, and long gaps between grooming sessions. High-activity pets are especially vulnerable since repeated movement accelerates the rubbing that kicks off mat formation in the first place.
Where Mats Actually Form: A Practical Map of the Problem Areas
Mats are not random. They cluster. Knowing where to look means you spend less time searching and more time actually catching problems before they compound.
The Spots That Catch Almost Everyone Off Guard
Behind the ears and along the neck
Collar friction and the natural movement of floppy ears create a perfect environment for twisting. New owners consistently undercheck this zone.
Under the armpits and at the elbow
Every stride your dog takes rubs these surfaces together. The friction is constant and cumulative. Long-haired cats that sprawl on rough surfaces develop the same issue.
The underbelly and flanks
Low-hanging coat on dogs that walk through wet grass picks up moisture and debris. Less airflow here means it stays damp longer. Shed undercoat also tends to drift downward and settle in these areas.
Around the tail base
Dense fur, constant movement, and the occasional moisture from outdoor activity make this a reliable trouble spot. Cat tail plumes mat from the base outward if they are not combed regularly.
Inner thighs and groin area
Warmth and friction combine here. Owners who brush the back and sides but skip the inner legs often discover mats in this area during a vet visit, not at home.
Harness contact points
Anywhere a strap presses repeatedly against coat will begin to compress and tangle over time, especially on dogs walked daily in a fitted harness.
How to Check With Your Hands Before You Even Pick Up a Brush
Press your fingertips gently into each of these zones before every grooming session. You are feeling for:
- A firm area that does not shift the way surrounding fur does
- Resistance when you try to spread the coat apart
- Skin that pulls slightly when you move the fur in any direction
Finding something does not mean the session has failed. It means the routine is working exactly as intended.
Does Coat Type Change Everything?
Yes. Significantly. The same mat that a pin brush handles in minutes on a silky-coated Maltese would be completely inaccessible on a dense double coat without an undercoat rake getting involved first. Matching tool to coat type is not optional; it is the foundation of any routine that actually works.
| Coat Type | Mat Risk | Where Problems Cluster | Starting Tool |
|---|---|---|---|
| Long and silky (Maltese, Persian) | High | Ends and underside | Pin brush, wide-tooth comb |
| Double coat (Golden Retriever, Maine Coon) | High | Trapped undercoat near the skin | Slicker brush, undercoat rake |
| Curly or wavy (Poodle, Doodle breeds) | Very high | Debris locked in curl structure | Slicker brush, dematting comb |
| Short and dense (Labrador, shorthair cats) | Low to moderate | Seasonal shedding accumulation | Rubber curry, soft bristle brush |
| Single coat, flowing (Afghan Hound, Ragdoll) | Moderate to high | Full-length coat snags during movement | Pin brush, detangling spray |
Curly coats deserve special mention. The curl structure acts like a trap for shed fur that would fall free on a straight-coated dog. That shed fur does not go anywhere; it just accumulates inside the curls and eventually becomes part of a mat. Daily sessions are not excessive for these breeds. They are the minimum.
The Brushing Technique That Actually Reaches the Problem
Surface brushing is one of the most common grooming mistakes. It looks like the job is done because the topcoat looks smooth, but the undercoat underneath may be developing mats that will not be visible for weeks. The fix is a technique called line brushing.
Part the coat down to the skin with your fingers or a comb. Then brush from the skin outward, moving the parted section back in small increments as you go. You are working through the coat in horizontal layers, each one close to the skin, rather than sweeping across the surface. It takes longer. It is also the only way to know the session actually reached the underlayer.
How often to brush, by coat type:
| Coat Type | Minimum Frequency |
|---|---|
| Curly or wavy | Daily |
| Long and silky | Daily to every other day |
| Double coat | Three to four times per week |
| Short or single coat | Once a week |
A Full 10-Minute Session, Broken Down
- Settle your pet and scan with your hands (1 to 2 minutes)Pick a consistent spot. A treat before you start builds a positive association. Feel through all hotspot areas before any tool makes contact.
- Apply detangling spray to dry coat if needed (30 seconds)A light mist into problem areas softens the hair shaft before brushing. Never skip this step on a coat with existing tangles.
- Work the low-friction areas first with a slicker or pin brush (2 to 3 minutes)Start at the back and sides. Short, deliberate strokes in the direction of growth. Long sweeping motions feel satisfying but skip over the underlayer entirely.
- Line brush through the coat in sections (3 to 4 minutes)Part the coat, hold the base of each section to prevent skin pulling, and comb from root to tip. This is where the real work happens.
- Final comb-through with a wide-tooth comb (1 to 2 minutes)If the comb passes through every zone without snagging, the session was thorough. Any resistance means something was missed.
- Reward (30 seconds)End with a treat and gentle handling. Note which areas gave the most resistance so you start there next time.
A few technique details that shift results noticeably: angle strokes outward rather than straight down, use short passes rather than long ones, and the moment your pet stiffens or pulls away, reduce pressure rather than pushing through. Forcing a grooming session builds avoidance. Slowing down keeps the routine sustainable.
When a Mat Has Already Formed: What to Do and What Not to Do
Finding a mat during a session is not a sign that the routine has been failing. It is a sign the routine caught something before it got worse. How you respond depends entirely on what you are working with.
Do not reach for scissors. This deserves emphasis. Cutting a mat with scissors is genuinely dangerous because the skin beneath mats is often pulled upward into the compacted fur and is not visible. Lacerations from this mistake are common. They are also avoidable.
Do not wet the area. Water causes hair shafts to swell and mats to tighten. A damp mat becomes a harder, denser mat as it dries. Always work on dry coat.
Assessing the Situation Before You Do Anything
- Try to shift the mat gently with your fingers. Does any part of it move separately, or is it one solid unit?
- Press toward the skin carefully. Is there a visible gap between the mat and the skin surface, or is it flat against it?
- Look for redness, any sign of moisture, or unusual smell underneath.
For Small or Early-Stage Mats
- Apply detangling spray directly to the mat and allow a minute for it to absorb
- Tease the outer edges apart with your fingers, working inward in small increments
- Move to a wide-tooth comb, starting from the tips and working toward the base in short passes
- Finish with the slicker brush once the structure has loosened enough to yield
For Moderate Mats That Resist the Comb
A dematting rake or splitter works by dividing the mat into smaller sections rather than pulling the whole thing out at once. Work slowly. Use one hand to hold the base of the fur close to the skin to prevent the pulling sensation from traveling to the skin. Check in with your pet every few passes.
Situations That Require a Professional
Stop the session and book a groomer if:
- The mat sits flush against the skin with no separation
- The skin underneath appears red, raw, or shows any sign of breakdown
- Your pet is showing distress, snapping, or freezing during the session
- The mat is located near the eyes, ears, groin, or another sensitive area
- You do not have confidence with the tool the situation calls for
Groomers approach severe mats with clippers and short blades rather than trying to comb them out, because at that stage, combing causes more pain than clipping does. Shaving the affected area is not a failure. The coat grows back. Skin damage from forcing a comb through a deep mat does not resolve as cleanly.
Bathing: How to Avoid Making Things Worse
Bathing and brushing are related, but the order matters enormously. Wet fur tightens. Any mat present before a bath will be harder and more compressed after it, once the coat dries. The sequence is non-negotiable: brush out all tangles and mats before water is involved.
A bath done in the right order can actually support coat health:
- Use a conditioner formulated for detangling and apply it generously to mat-prone zones
- Rinse thoroughly, since residue left in the coat attracts debris and speeds up future tangling
- Dry with a low-heat dryer while brushing in the direction of growth
- Never let a long-coated pet air-dry unsupervised; partial drying combined with movement creates new tangles almost immediately
- Run a comb through the fully dry coat once the session is complete
When to Hand It Over to a Professional
There is a point in every mat situation where continuing at home does more harm than good. Knowing where that line is matters as much as knowing any brushing technique.
Call a professional when:
- Mats are skin-level and span a large portion of the coat
- Your pet becomes aggressive or shuts down completely during sessions at home
- You detect any skin irritation, unusual odor, or breakdown beneath a mat
- The coat has not been groomed in months and has compacted across multiple areas
- You are new to grooming and want a properly established baseline before building a home routine
What happens at the appointment depends on the severity. The groomer will assess whether hand-dematting is reasonable or whether clipping is the safer path. A clipped coat is not a problem; it is a reset. It allows the skin to breathe, the fur to grow back clean, and the pet to feel relief from a pressure they have likely been carrying for weeks.
Maintenance Checklist: Daily, Weekly, and Monthly
Every day:
- Feel through all hotspot zones with your fingers
- Check behind the ears, under the arms, and around any collar or harness contact point
Every week:
- Run through the full 10-minute brushing routine
- Follow with a wide-tooth comb check across all zones
- Inspect skin in the areas that gave the most resistance
Every month:
- Clean all grooming tools thoroughly
- Assess whether your current frequency is keeping up with coat growth and activity level
- Consider a professional maintenance session if any areas are becoming harder to manage
Common mistakes worth knowing:
- Skipping a mat because it seems minor (early-stage mats grow faster than most owners expect)
- Brushing only the topcoat and considering the session done
- Letting any amount of moisture touch a coat with existing mats before brushing them out
- Pushing through a grooming session when a pet is clearly distressed
- Bathing before brushing out all existing tangles
Building a grooming habit that actually works is less about perfection and more about consistency over time. Start with ten minutes every few days. Focus on the hotspot zones first, use the line brushing technique to get past the surface layer, and always finish with a comb check to confirm you reached the underlayer. Over weeks, the routine becomes familiar to both of you, your pet grows more tolerant of being handled in sensitive areas, and tangles get caught at the stage where they are still easy to resolve. The coat that looked unmanageable in month one looks entirely different by month three, not because of any single session, but because the accumulation of small, consistent efforts compounds into a coat that is genuinely healthy, comfortable for your pet to live in, and far less likely to send either of you to an emergency grooming appointment.